On the Orchard: Nothing Wasted
Just a little autumn magic in the Fruit Loop. A few months ago, I imagined visiting Hood River in the fall, picking apples, and experiencing harvest season in the Pacific Northwest. What I didn't know then was that I would actually be living here, surrounded by orchards, mountains, and all the beauty of autumn.
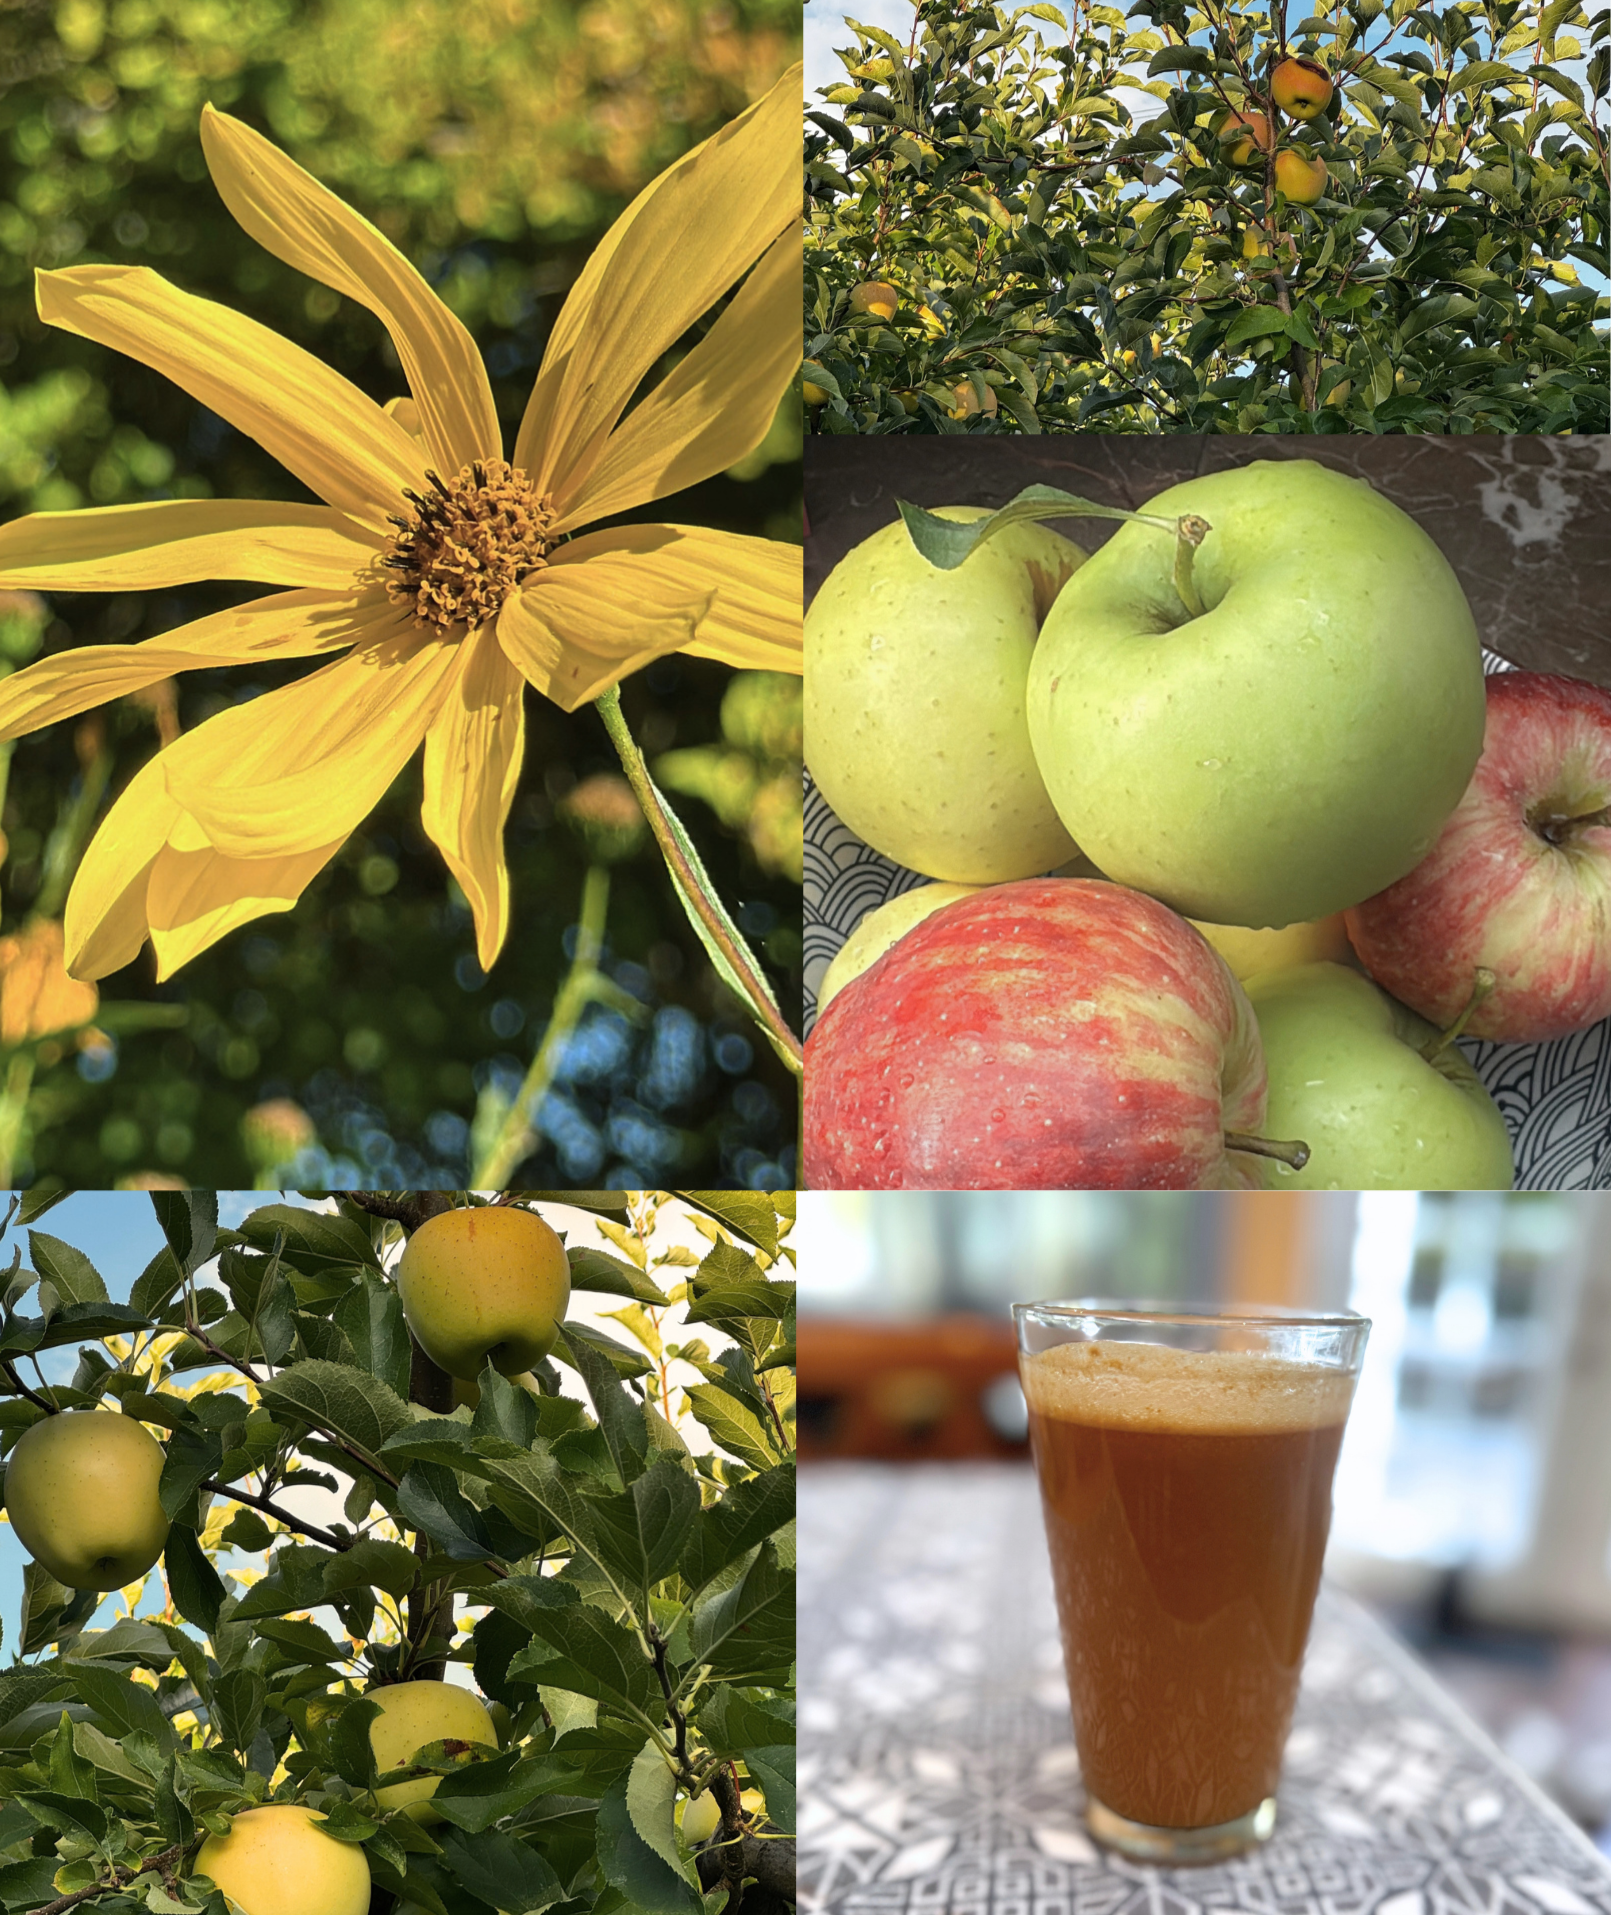
And now, here I am, turning freshly picked apples into homemade apple butter, apple bread, and cider. Not a thing was wasted.
There's something so satisfying about slowing down, getting your hands into the season, filling the kitchen with cinnamon, cloves, and ginger, and enjoying the simple pleasures of making something from scratch.
I've always loved autumn. The colors, the crisp air, the abundance of the harvest, and the way nature reminds us that everything has its season.
There's something meaningful about taking what the earth has provided and finding ways to use and enjoy all of it. It's a little lesson in resourcefulness, gratitude, and being present with what's available.
And maybe that's part of what makes this experience so special. Something I once imagined as a little autumn getaway has become part of my everyday life.
Living in the middle of the orchards during harvest season is a whole experience, and I'm soaking up every bit of it.
Sometimes everyday illumination is as simple as a kitchen full of apples, the smell of cinnamon, and realizing you're living a moment you once only imagined.
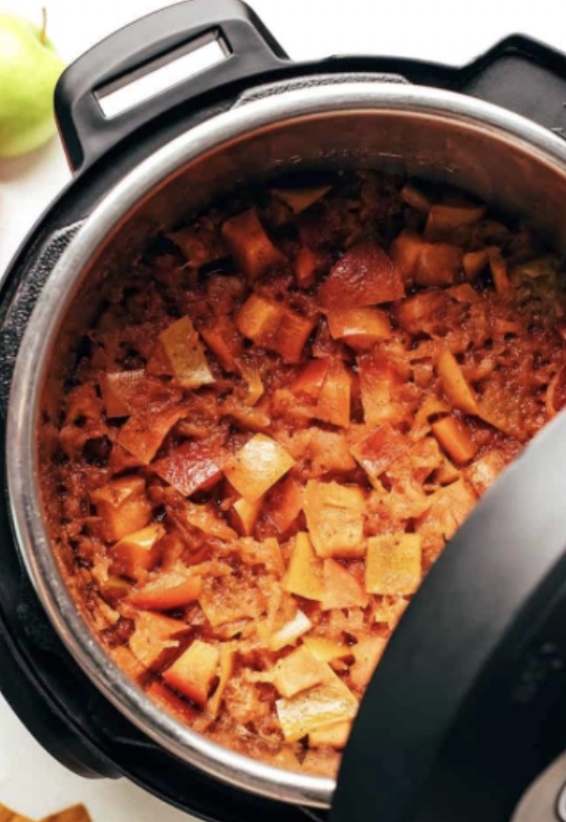
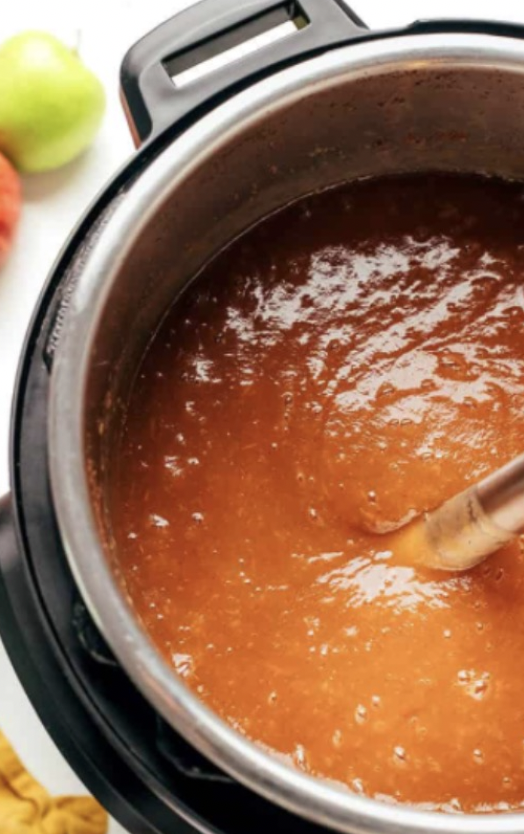
Rustic Apple Butter Recipe
Yields about 32 to 40 oz (approx. 4 to 5 cups, 5 8 oz mason jars) of rich, dark spread.
Apples: 4.5 lbs (approx. 70 oz) sweet/tart blend, peeled, cored, and quartered
Dark Brown Sugar: ¾ cup (5.3 oz) packed
Granulated White Sugar: ½ cup (3.5 oz)
Apple Cider or Juice: ¼ cup (2 oz)
Lemon Juice or Apple Cider Vinegar: 1 tablespoon (0.5 oz)
Ground Cinnamon: 2½ teaspoons
Ground Nutmeg: ¼ teaspoon
Ground Cloves: ¼ teaspoon
Fine Sea Salt: 1 pinch
Vanilla Extract: 1 teaspoon
Crockpot Apple Butter Instructions
Combine: Toss your 4.5 lbs of chopped apples, ¾ cup dark brown sugar, ½ cup white sugar, ¼ cup apple cider, 1 tablespoon lemon juice, and the spices (cinnamon, nutmeg, cloves, salt) directly into your crockpot. Stir well to coat the apples.
Slow Cook: Cover with the lid and cook on Low for 8 to 10 hours (or on High for 5 hours may produce a little less). The apples are ready when they are completely soft, dark brown, and collapsed.
Puree: Use an immersion blender directly inside the crockpot (or carefully transfer to a stand blender) and blend until completely smooth and velvety.
Thicken: Prop the crockpot lid open slightly using a wooden spoon or chopstick to let steam escape. Cook on Low for an additional 1 to 2 hours, stirring occasionally. This allows the liquid to reduce and darken into a rich mahogany color.
Tip: The apple butter is done when a spoon dragged through the bottom leaves a clear trail that doesn't immediately fill back in.
Finish: Turn the crockpot to warm, stir in the 1 teaspoon of vanilla extract, and proceed immediately to your Canning Sequence while the butter is piping hot. Should be steaming when you put in jars.
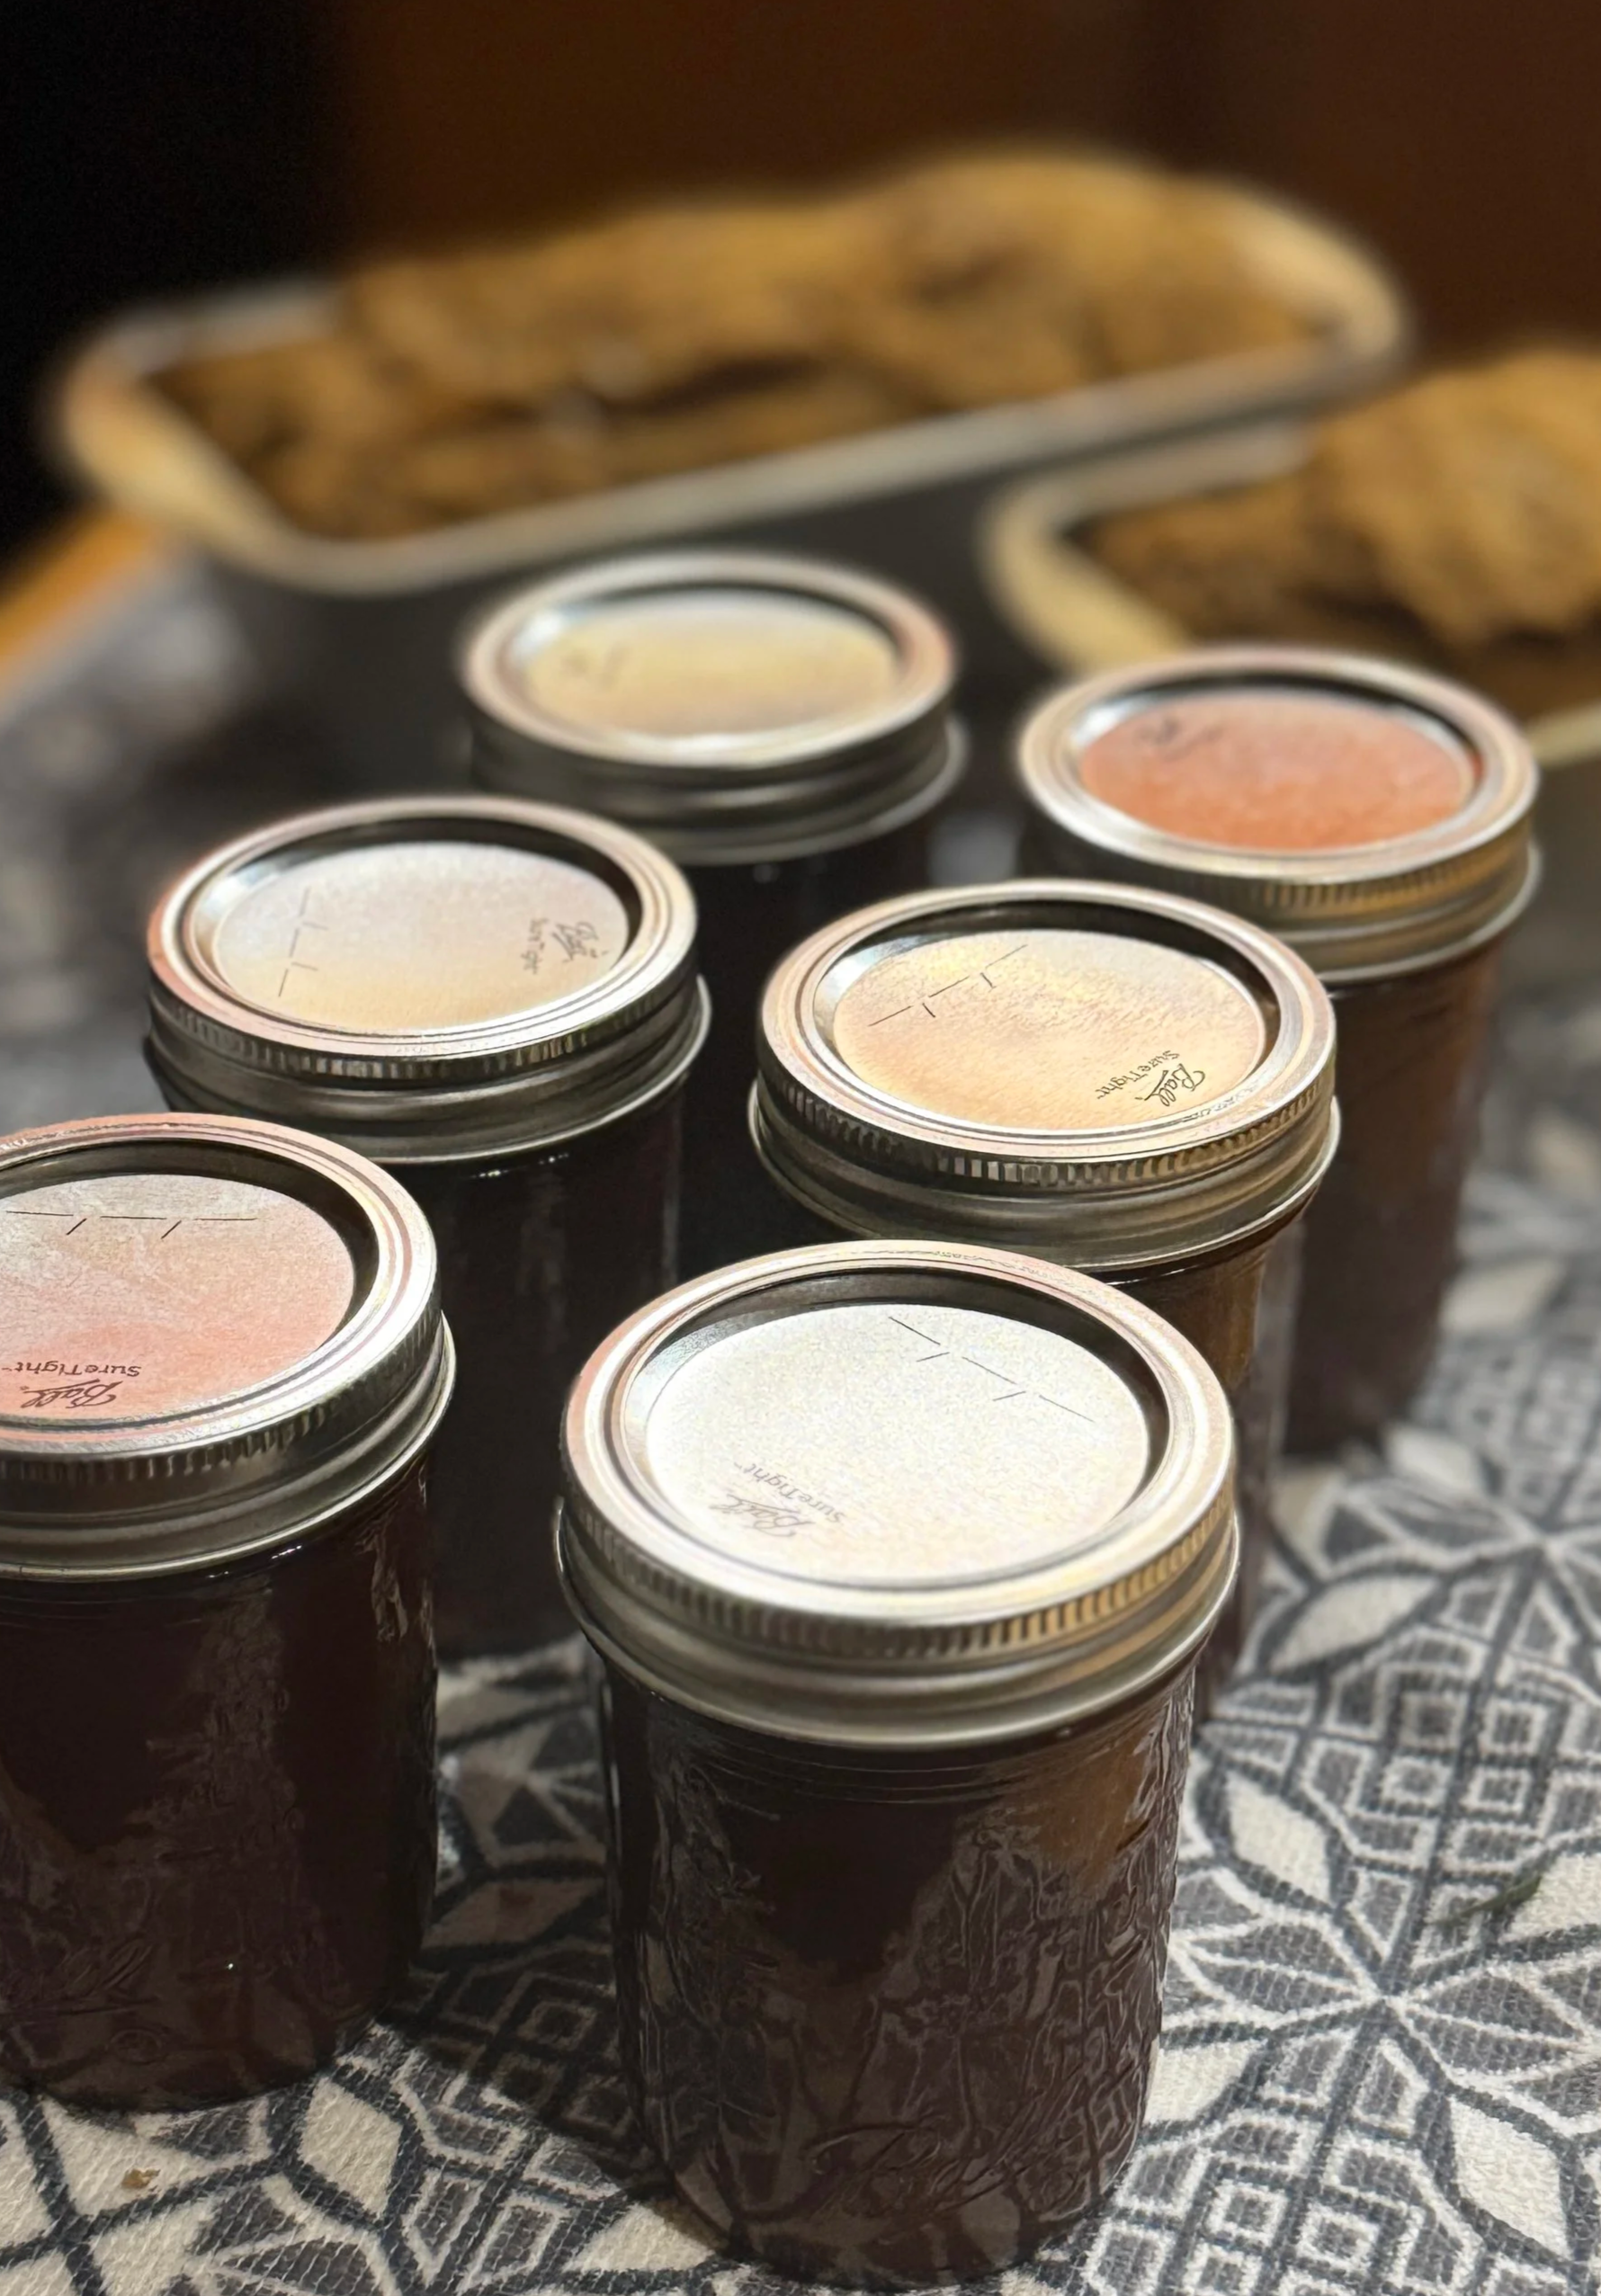
The Tool Setup
Before you get started, make sure you have these things ready on your counter:
A deep stockpot: Put a small rack, silicone mat, or extra jar rings on the bottom so the glass never rests directly on the bottom of the pot.
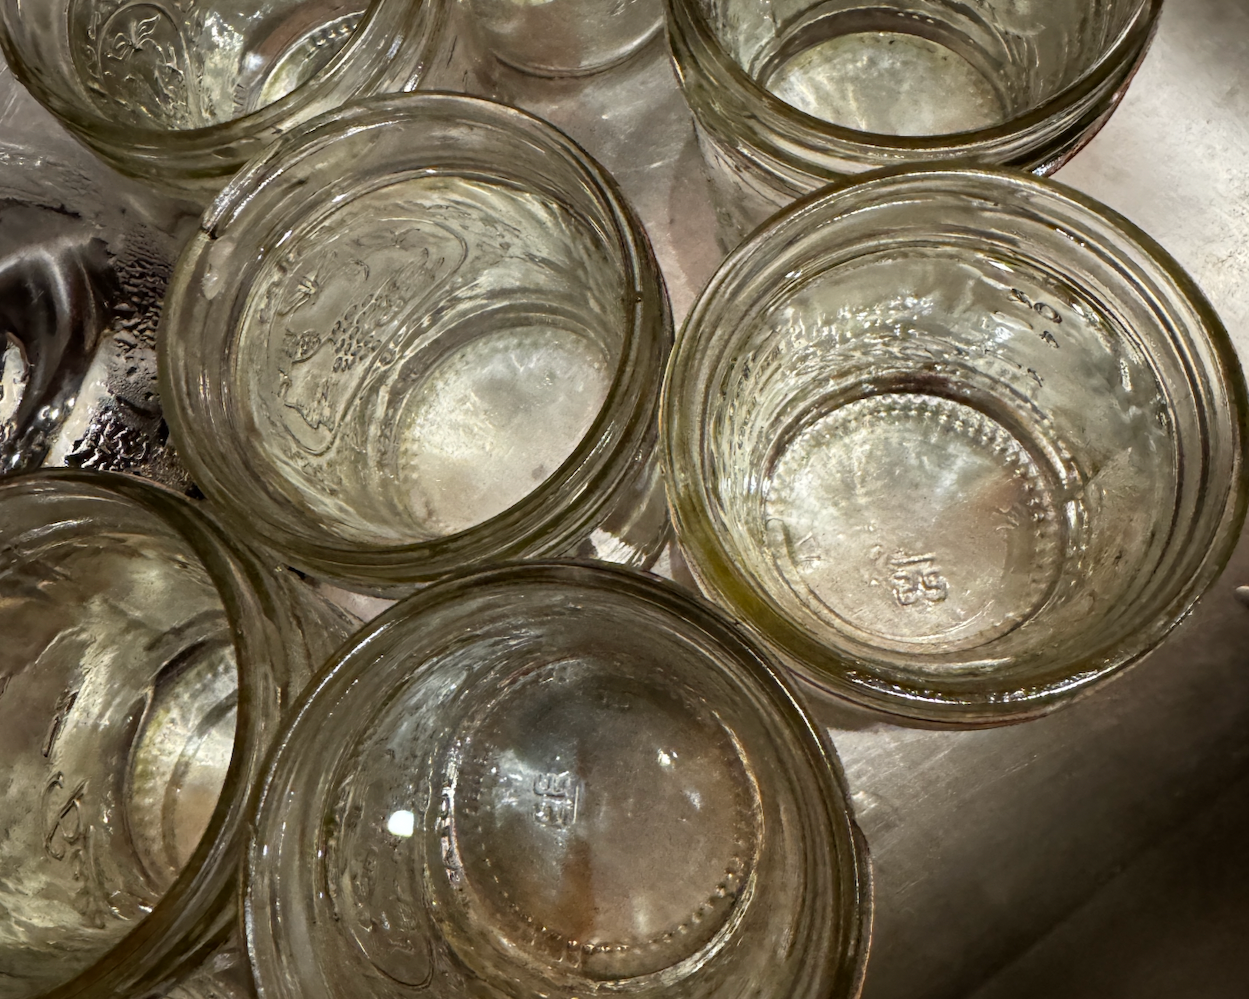
Your jars: Wash 5 half-pint (8 oz) mason jars and lids. Keep the jars standing in a sink of very hot water so they stay warm. You also can use a teapot and pour hot water in immediately before filling let sit for a minute.
A damp paper towel: Keep this nearby to wipe the rims for a smooth sugarless rim seal.
The Canning Sequence
Keep it Hot: As soon as your crockpot finishes the thickening phase (Step 4), keep it on the "Warm" setting. Never let apple butter cool before canning.
Fill: Pull a warm jar from the sink. Ladle the boiling-hot apple butter into the jar, leaving exactly ¼ inch of space at the very top.
Wipe & Close: Clean the glass rim completely with your damp paper towel. Place the lid on top, and twist the metal band until it is finger-tight (just until you feel resistance—don't crank it down, or air can't escape).
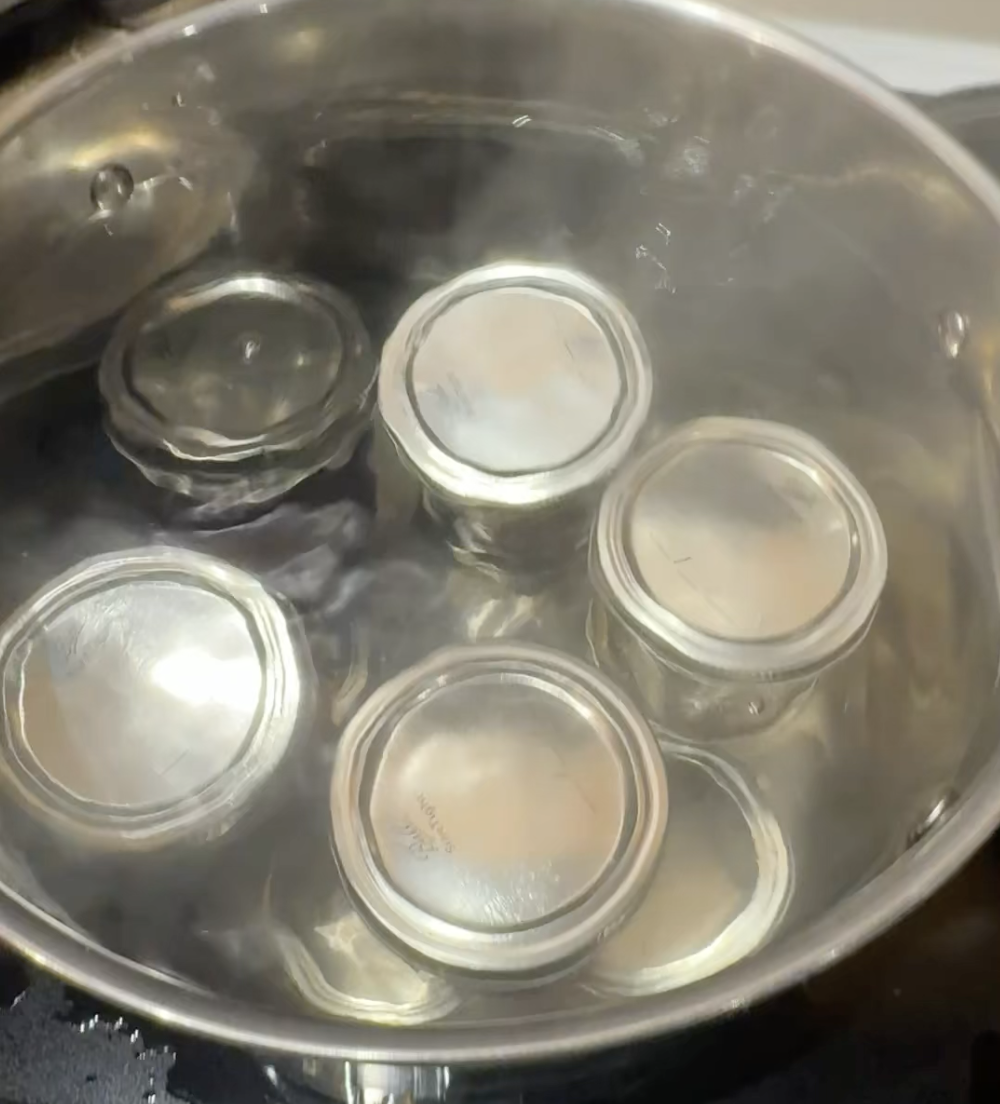
The Bath: Place the jar into your deep stockpot. Repeat until all 5 jars are inside.
Submerge & Boil: Fill the pot with hot water until the water level is 1 to 2 inches above the top of the lids. Turn the stove to high.
Time for 20 minutes: Wait until the water reaches a furious, rolling boil. Only then do you start your timer for 20 minutes to safely vacuum seal the jars.
The Cool Down: Turn off the burner. Carefully lift the jars straight up out of the water using tongs or a jar lifter. Set them on a towel on your counter and leave them completely alone for 24 hours.
Within an hour, maybe in seconds you'll hear those beautiful, loud lid "pops" as the cool Hood River air creates a perfect vacuum seal! Once fully cooled after 24 hours, check that the lids are pressed firmly down and don't flex up and down. Any that dont pop you can put in the fridge to use for up to 2 weeks. If it lasts that long.
Storage & Shelf Life
Shelf-Stable: Store your sealed jars in a cool, dark, and dry place like a pantry or cupboard. Properly vacuum-sealed apple butter will last for 1 to 2 years, though it is best enjoyed within 12 months for optimum flavor and vibrant color.
Once Opened: Pop the seal, store the jar in your refrigerator, and enjoy it within 1 to 3 months.
Raw Pressed Apple Cider Recipe
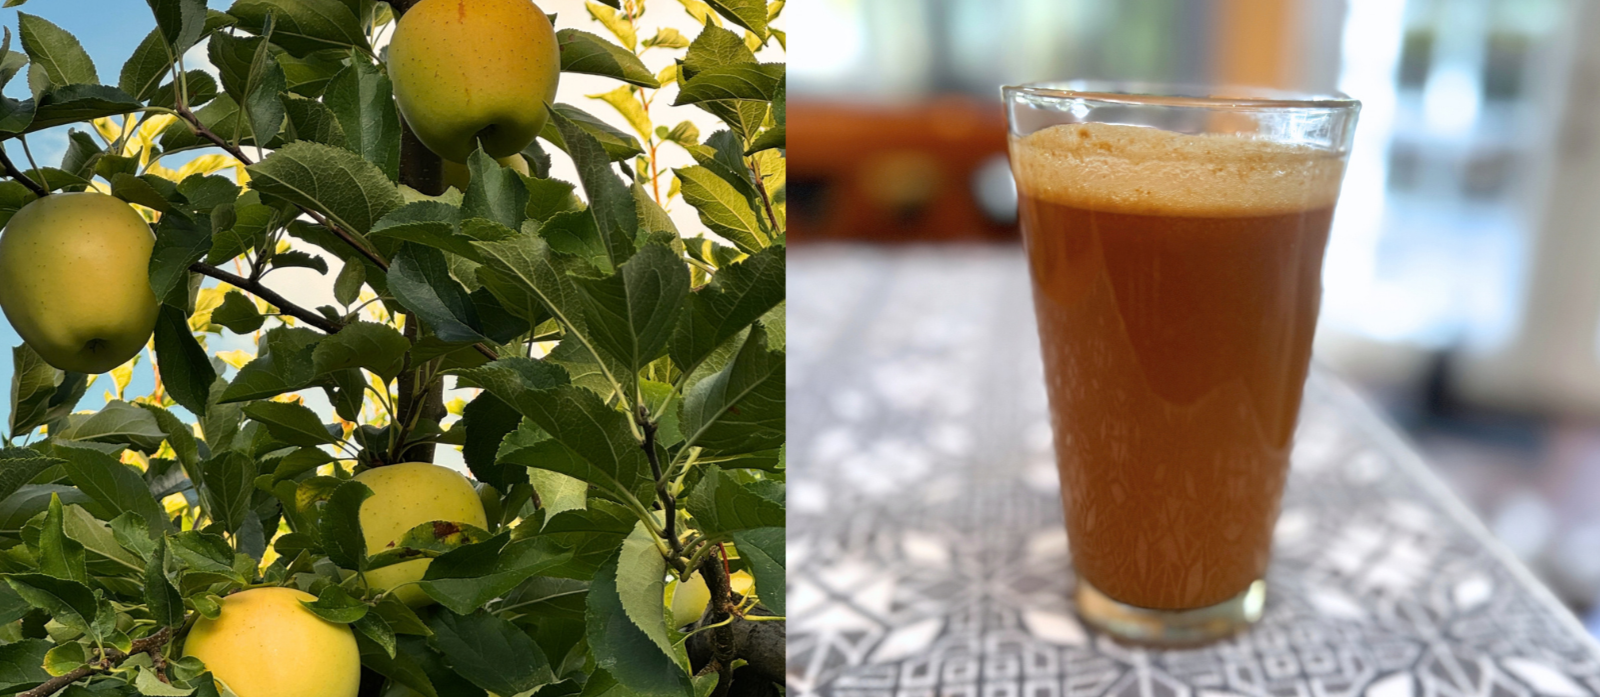
Yields about 1 gallon (approx. 16 cups) of crisp, fresh unfiltered cider.
Apples: 14 to 15 lbs (approx. 30 to 40 medium apples) a crisp blend of sweet and tart varieties, washed, cored, and chopped
Ground Cinnamon: 2 teaspoons (optional, stirred in at the end)
Lemon Juice: 2 tablespoons (optional, helps preserve the bright color)
*Save the pulp to make Rustic Apple Bread below, cover with a towel stick in the fridge
Juicing Method Instructions
Prep: Cut your washed and cored apples into pieces that easily fit the chute of your centrifugal or masticating juicer. Leave the skins on for maximum color and nutrition.
Juice: Turn on your juicer and feed the apple pieces through the chute, collecting the raw juice in a large pitcher or bowl.
Skim: Let the freshly pressed juice sit for 5 minutes. A layer of thick, frothy foam will rise to the top. Use a large spoon to skim off and discard this foam.
Flavor & Finish: Stir in your lemon juice and cinnamon if desired. Proceed straight to the Straining Sequence for a perfectly smooth pour.
Blender Method Instructions (Alternative)
Chop: Finely chop your washed and cored apples into small cubes so they blend easily.
Blend: Working in small batches, fill your high-speed blender with apple pieces. Add a tiny splash of water or pre-made apple juice (about 2 tablespoons) just to help the blades catch. Blend on high until it forms a completely smooth, liquid apple puree.
Collect: Pour the thick puree into a large bowl and repeat until all your apples are blended. Proceed immediately to the Straining Sequence.
The Juicing & Straining Setup ( I do not strain with juicer)
Before you strain, set up your station on your counter:
A Fine Mesh Strainer: Place a large strainer over a clean bowl or pitcher.
Cheesecloth or Nut Milk Bag: Line your strainer with several layers of cheesecloth or use a high-quality nut milk bag to separate the liquid from the raw pulp.
A Ladle: Keep a ladle handy to transfer the raw mash if using the blender method.
The Straining Sequence
The First Strain: Pour or ladle your raw apple juice or blender puree into your lined strainer. Let the crisp, golden liquid drain naturally into the bowl below.
Squeeze & Extract: Gather the edges of your cheesecloth or close your nut milk bag. Using clean hands, twist, squeeze, and press the pulp firmly. Wring it out tightly to extract every last drop of pure cider.
Discard Pulp: Discard the dry raw apple pulp left inside the cloth. Repeat the process in batches until all the liquid is completely strained.
Storage & Shelf Life
Refrigerator: Pour your raw cider into clean glass jars or jugs and seal tightly. Store in the refrigerator immediately and enjoy within 3 to 5 days. Because it is raw and unpasteurized, it will begin to ferment naturally if kept longer.
*Freezer: To keep it fresh long-term, pour into plastic freezer-safe containers, leaving 2 inches of headspace for expansion. Freeze for up to 1 year. Thaw in the refrigerator before serving.
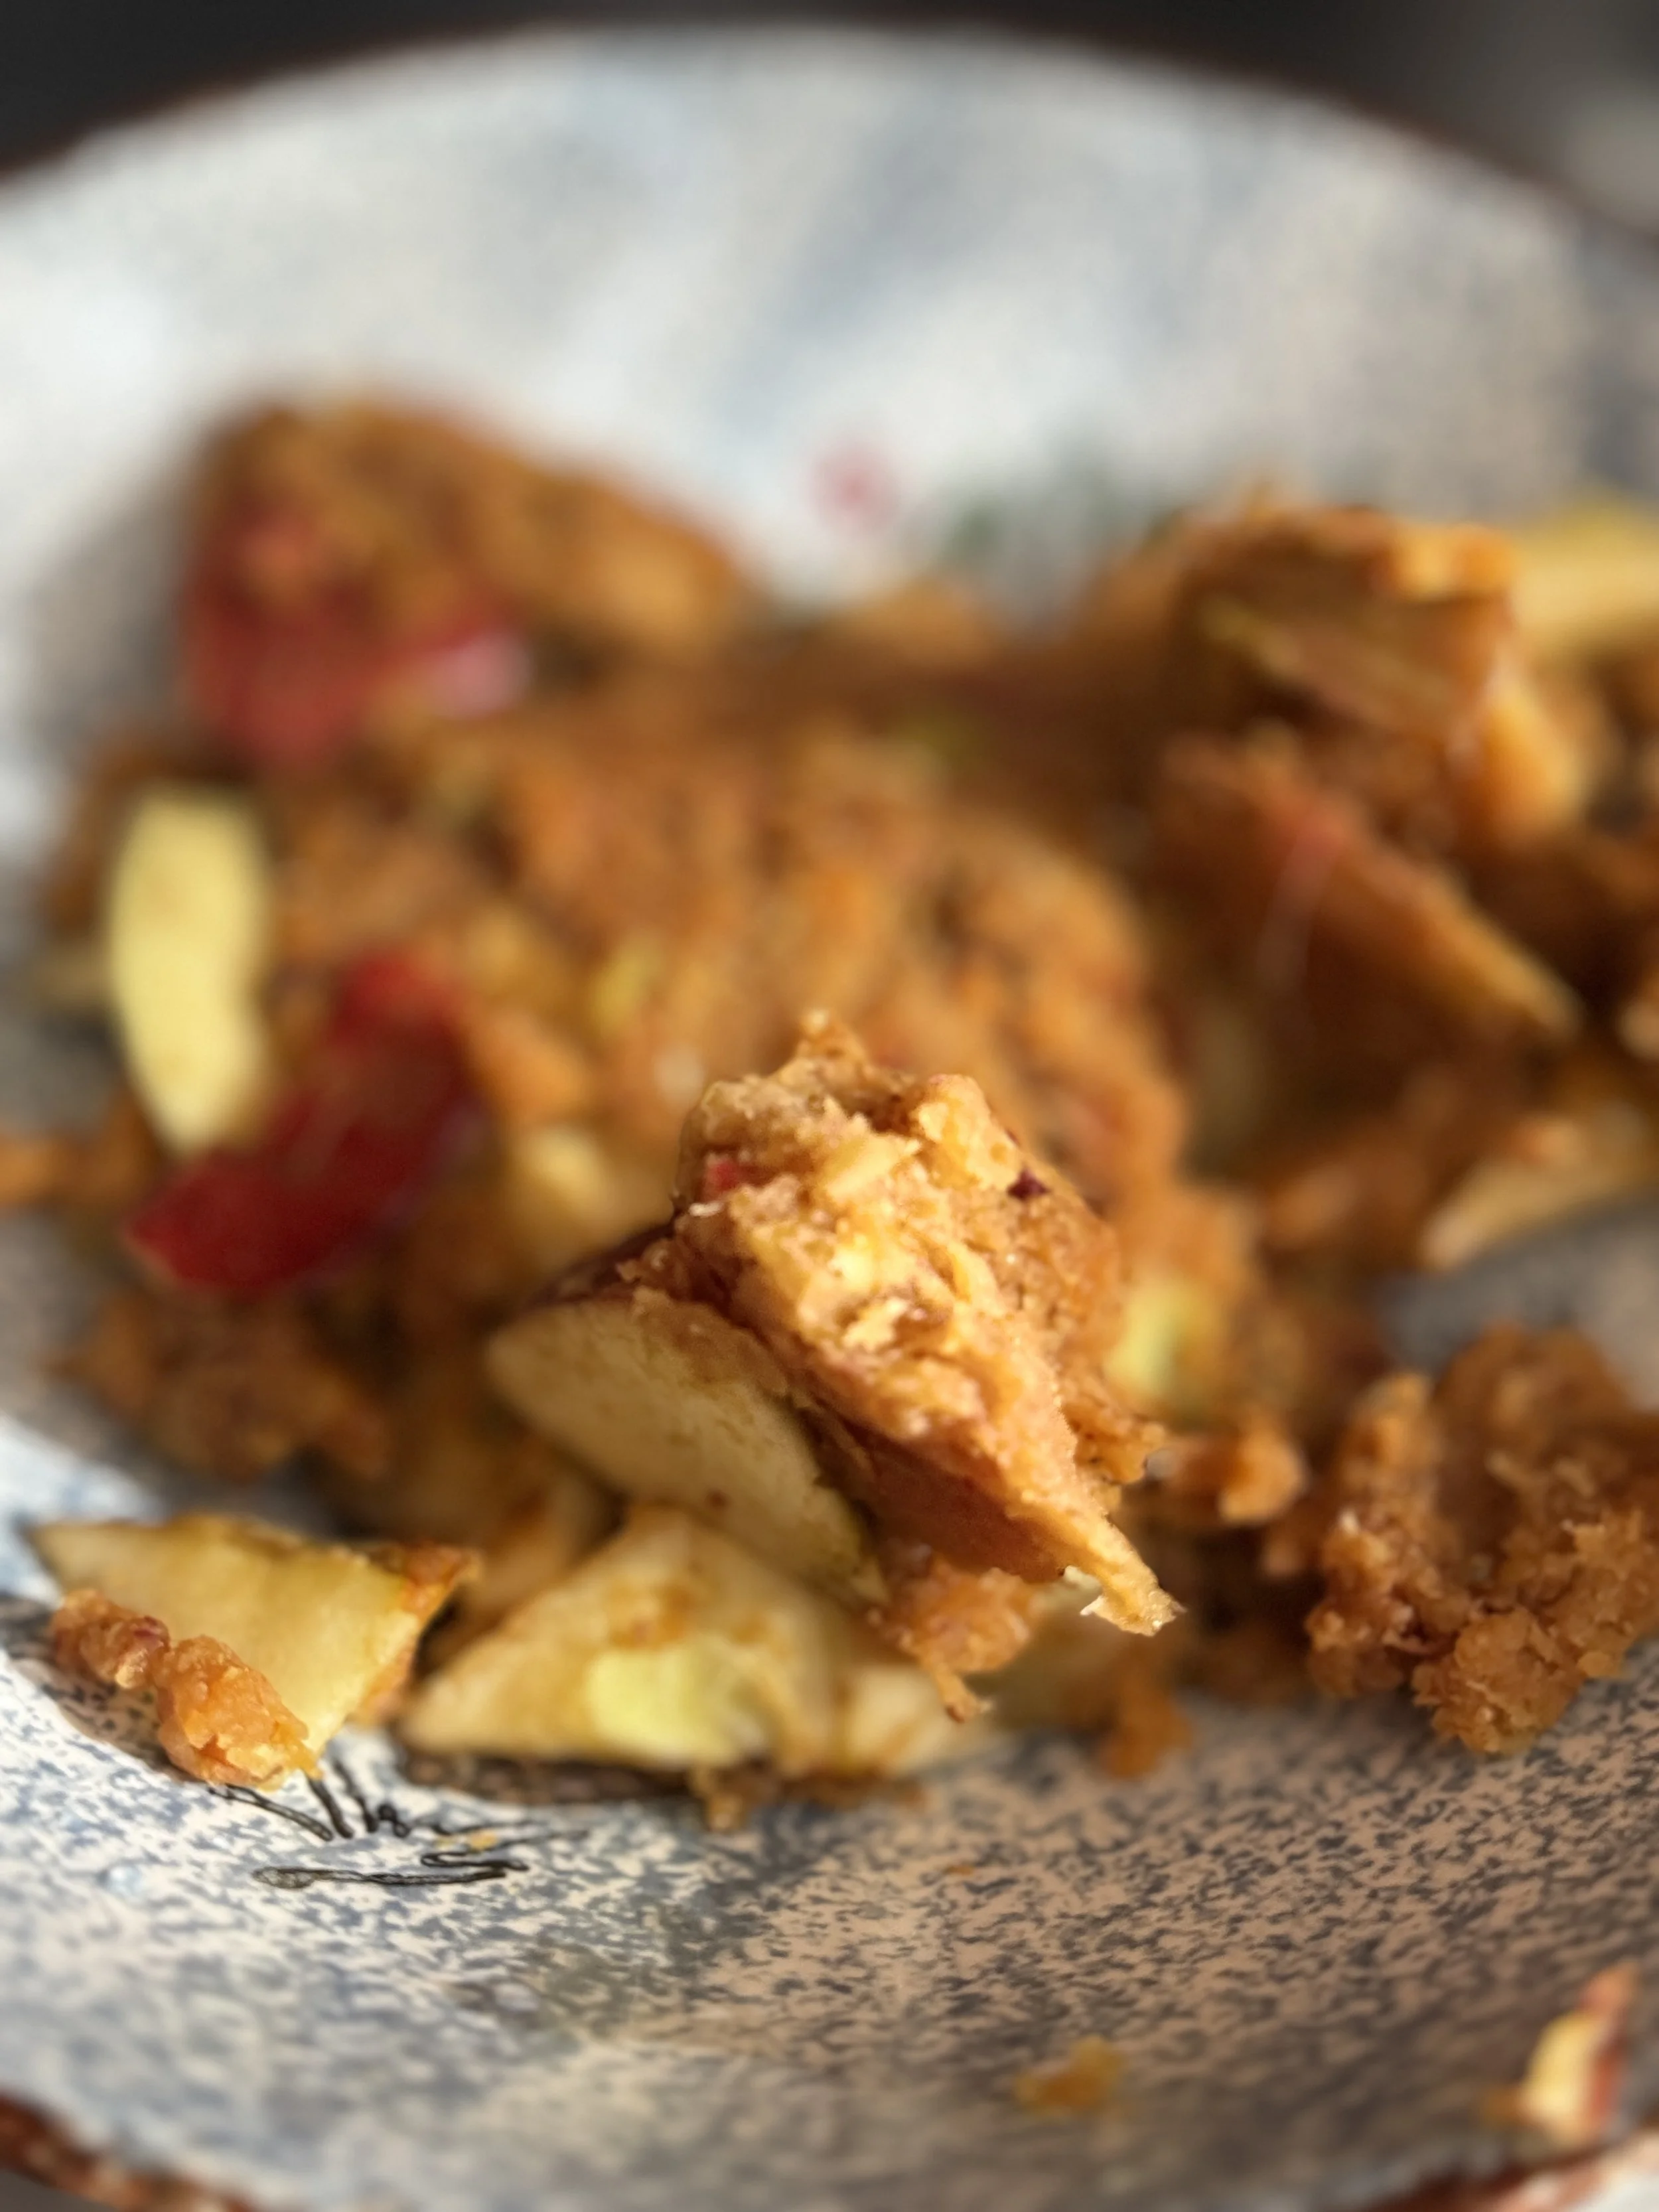
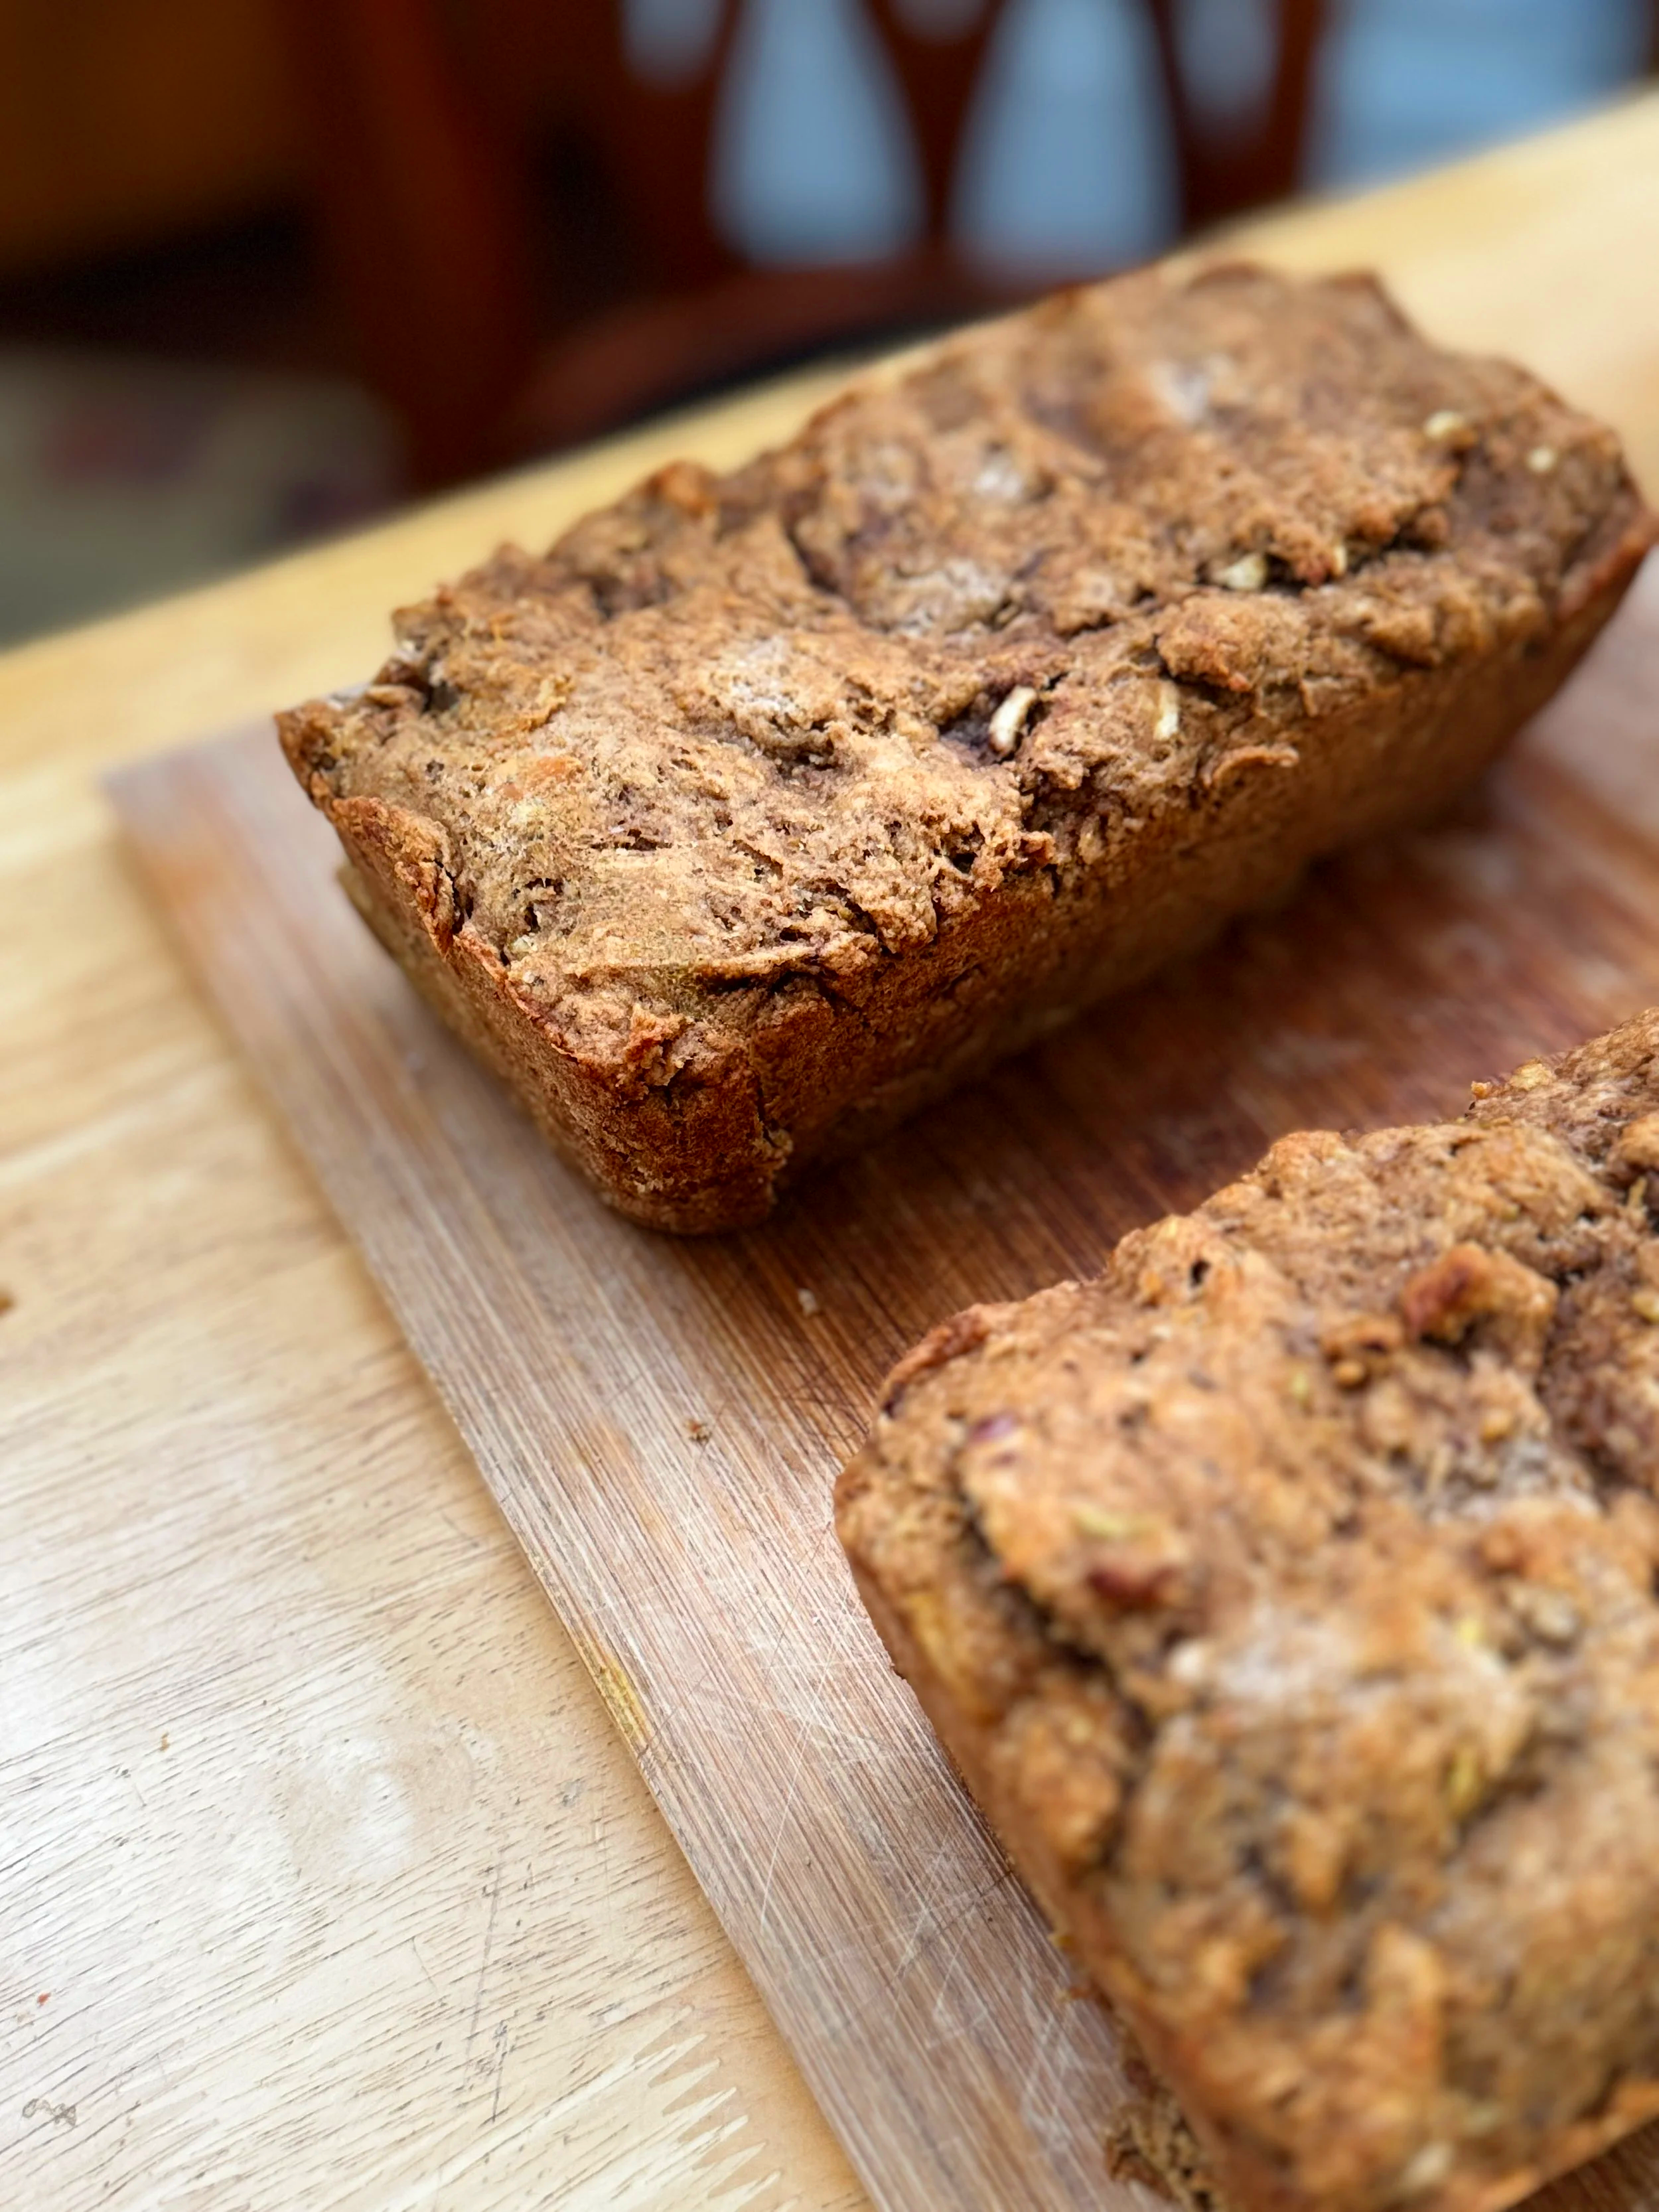
Rustic Apple Cinnamon Pulp Bread
Prep time: 15 mins | Bake time: 50–60 mins | Yield: 1 loaf
Ingredients
2 cups apple pulp (with larger peels)
2 cups all-purpose flour
1 tsp baking soda
½ tsp baking powder
½ tsp salt
2 tsp ground cinnamon
½ tsp ground nutmeg
½ cup unsalted butter, melted (or coconut oil)
½ cup brown sugar, packed
¼ cup honey or maple syrup
2 large eggs, beaten
1 tsp vanilla extract
Step-by-Step Instructions
Prep the Oven & Pan: Preheat your oven to 350°F (175°C). Grease an 8.5 x 4.5-inch loaf pan or line it with parchment paper.
Check the Seeds: Take a quick glance through your pulp and remove any stray apple seeds, as they shouldn't be baked into the bread.
Mix Dry Ingredients: In a large bowl, whisk together the flour, baking soda, baking powder, salt, cinnamon, and nutmeg.
Mix Wet Ingredients: In a separate bowl, blend the melted butter, brown sugar, honey, beaten eggs, and vanilla extract until smooth. Stir the apple pulp directly into this wet mixture.
Combine: Pour the wet ingredients into the dry ingredients. Gently fold them together with a spatula just until the flour disappears. Do not overmix, or the bread will be dense.
Bake: Pour the batter into your prepared loaf pan and smooth the top. Bake for 50 to 60 minutes.
The Doneness Test: Because apple pulp holds a lot of moisture, insert a toothpick into the center at the 50-minute mark. It should come out clean or with a few dry crumbs.
Cool: Let the bread cool in the pan for 10 minutes, then transfer it to a wire rack to cool completely before slicing.

Enjoyed this little slice of Everyday Illumination?
Subscribe to my Substack for more reflections on creativity, nature, self-discovery, and finding meaning in the everyday moments.
Subscribe to Everyday Illumination